The Critical Difference Between Restarting and Resetting
Knowing how to reset a Nest thermostat correctly can mean the difference between a two-minute fix and accidentally wiping out months of learned scheduling data. Before you touch a single button, it’s worth understanding that Google offers three distinct reset types — and choosing the wrong one has real consequences.
According to Google Nest Help, these options break down as follows:
Restart — A simple reboot that clears minor software glitches without touching your settings, schedules, or network credentials. Think of it as the equivalent of power-cycling any other electronic device.
Schedule Reset — Wipes only your programmed temperature schedule, leaving Wi-Fi and account data intact. Useful after a seasonal routine change.
Network Reset — Clears saved Wi-Fi credentials only, which is helpful when switching routers or moving the thermostat to a new network.
Factory Reset — A total data wipe that removes all personal settings, schedules, and account links.
The factory reset is the only option that fully unlinks a thermostat from its previous owner. As PCMag notes, “if you’re moving out or want to give your thermostat to someone else, you should always perform a factory reset to remove your personal settings.” Skip this step, and the next owner will hit an “already registered” error that blocks setup entirely.
If a frozen or unresponsive screen is the symptom you’re dealing with, a manual restart is the logical first move — and that’s exactly where to begin.
How to Force a Manual Restart When the Screen is Frozen

A frozen Nest thermostat screen isn’t a sign of permanent failure — it’s usually a software hang that a physical override can fix in under a minute.
A black screen or an unresponsive ring almost always means the software has locked up, not that the hardware is broken. Before assuming you need a full factory reset or a new Nest thermostat installation, this manual restart should be your first move.
Common symptoms that signal a freeze include:
The display is completely black with no wake response
The ring turns but nothing happens on screen
The thermostat is stuck on a single screen and won’t navigate away
The temperature isn’t updating despite HVAC activity
When you spot any of these, here’s how to force the reboot:
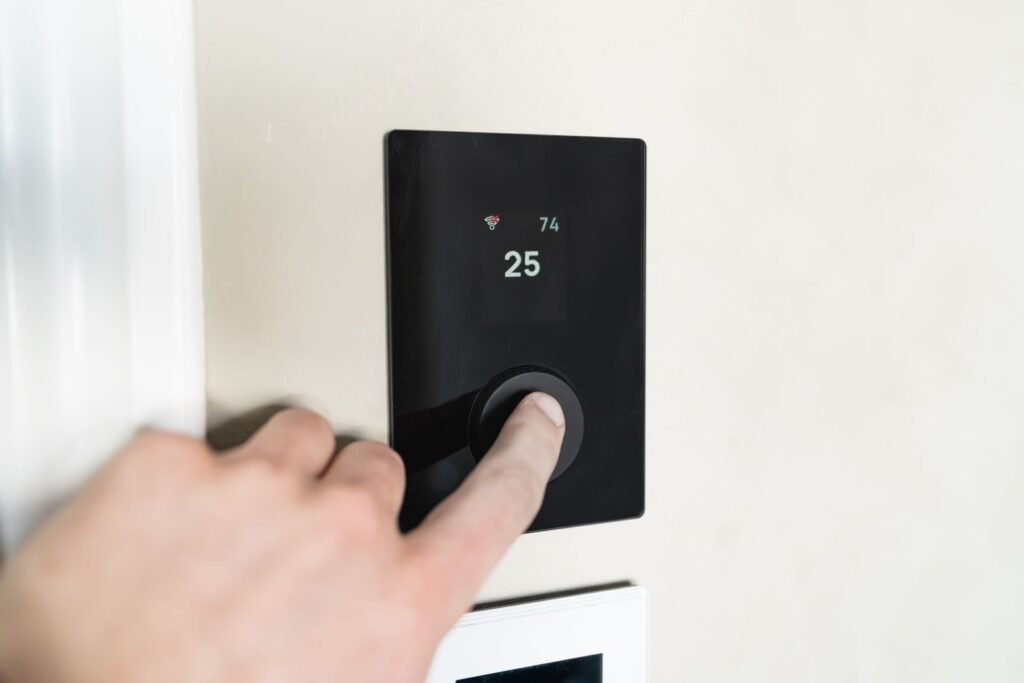
Press the thermostat ring inward like a button — don’t rotate it.
Hold it down for a full 10 seconds without releasing. According to CNET, this duration is specifically required to trigger the manual restart sequence.
Release when the screen goes dark.
Wait — the unit will reboot on its own.
Stop and do nothing once the Nest logo or home icon appears. Interrupting the reboot cycle mid-process can cause incomplete restarts that leave the device in the same frozen state.
The reboot typically takes 30 to 90 seconds. What’s happening underneath is the thermostat cycling its software processes and reinitializing its connection to your HVAC system. If the screen comes back responsive and the display shows your set temperature, the restart worked.
However, if the freeze returns within a few hours or the ring press produces no response at all, a deeper issue may be at play — and battery voltage is often the hidden culprit.
The 3.7V Rule: Why Your Reset Might Be Failing

Most failed factory resets trace back to a single, overlooked hardware requirement: the thermostat doesn’t have enough power to finish the job.
When you decide to restart or reset a Nest thermostat, a restart is a lightweight operation — the device just reboots its software. A factory reset is an entirely different demand. The process rewrites firmware, clears stored schedules, and purges Wi-Fi credentials, all of which require sustained power. According to Google’s Nest hardware specifications, the battery must hold a charge of at least 3.7V for the reset to complete successfully.
Battery voltage below that threshold is the most common reason a reset stalls, loops, or never finishes.
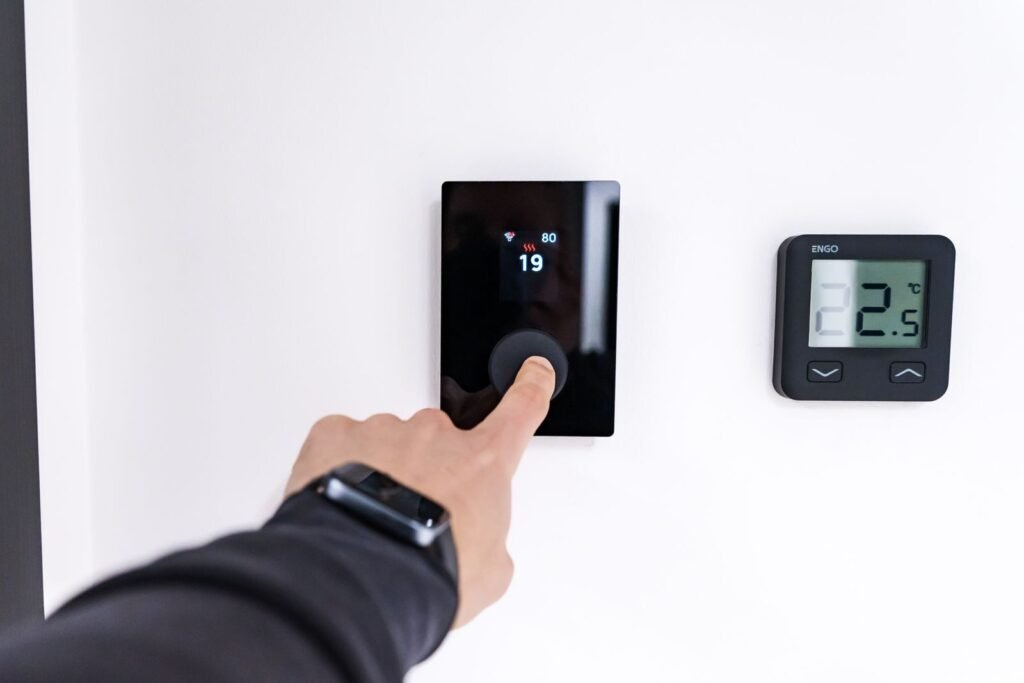
To verify your charge level before attempting anything, navigate to Settings → Technical Info → Power on the thermostat display. The “Vbat” reading is your battery voltage. If it reads below 3.7V, proceed with charging first.
Check Vbat: Go to Settings → Technical Info → Power and confirm the reading is 3.7V or higher.
Charge via USB: Remove the display from the wall base and plug a USB cable into the port on the back — 30 to 60 minutes is typically enough to recover a depleted battery.
Pro Tip: Never initiate a factory reset on a low battery. If power drops mid-process, the firmware rewrite can corrupt partially — leaving the thermostat in an unresponsive state that’s significantly harder to recover from than the original problem.
That covers resets on a mounted, powered unit. Things get more complicated when the thermostat has already been removed from its base — a situation that introduces a different set of challenges entirely.
Resetting a Nest Thermostat That’s Already Off the Wall
A Nest thermostat that’s been removed from its base presents a unique obstacle: you simply cannot manually reset a Nest thermostat through the app once it loses its Wi-Fi connection. The Nest app requires an active network link to send commands — no connection, no remote control. That dependency leaves many users stuck, particularly when dealing with a device left behind by a previous homeowner.
The only reliable paths forward both require getting power back to the display.
The USB Method is the most practical option when the base is unavailable. Google’s support documentation confirms that users often need to charge the display via a USB port before attempting a full reset if the unit has been off the wall for an extended period. Plug a micro-USB or USB-C cable (depending on your model) into the display and connect it to a powered source. Once the screen activates, you can navigate to Settings → Reset → All Settings without the base being involved at all.
The Re-mount Method is the more permanent fix. Snapping the display back onto a powered base restores both battery charging and the reset menu simultaneously — and it gets the device ready for immediate reconfiguration once the reset completes.
Inherited devices deserve a specific note. If a previous homeowner’s account is still linked, a factory reset is the only way to wipe that association. The app alone cannot override account ownership on a disconnected device. Once wiped, the thermostat becomes a blank slate ready to link to a new account — which is precisely where connectivity and PIN troubleshooting becomes the next hurdle.
Troubleshooting Persistent Connectivity and PIN Issues
Connectivity failures and forgotten PINs are two of the most frustrating Nest problems — and each has a targeted fix that stops well short of a full wipe.
A forgotten PIN doesn’t require a factory reset. The Nest app lets you recover or reassign access credentials remotely, which means the thermostat’s schedule, energy history, and preferences stay completely intact. Open the app, navigate to the device settings, and follow the account recovery prompts to restore access in minutes.
The situation changes when the connection itself is broken. A persistent “Offline” error often has nothing to do with your router and everything to do with corrupted network credentials stored on the device. This is where the Network Reset acts as a surgical strike. As noted in Google Nest Help, specific sub-resets like “Schedule” or “Network” allow you to clear only targeted data sets without losing your full configuration. Wiping network data alone forces the thermostat to rediscover your Wi-Fi without touching anything else.
Caution: A full factory reset becomes unavoidable in one specific scenario — an inherited or secondhand device still linked to a previous owner’s account. There’s no workaround. If you’ve ever needed to reset a Nest Learning Thermostat off the wall and found it locked to an unknown account, only a complete wipe clears that ownership tie. After the reset, re-link the device to your Google account through the app before restoring any settings.
Knowing which reset matches your problem is exactly the kind of clarity the final checklist will lock in.
The Bottom Line: Your Reset Checklist
Troubleshooting your Nest thermostat comes down to one core decision: knowing which reset type matches the problem in front of you.
The wrong reset wastes time; the right one solves the issue in under a minute. Here’s how to keep that distinction clear:
Restart for performance glitches, factory reset for ownership changes. A frozen screen or sluggish response calls for a simple restart. Selling, moving, or clearing persistent errors requires a full factory reset — which, according to Google Nest Help, wipes all personal data and removes the device from the app so the next owner can connect without errors.
Check battery voltage first. Before initiating a full wipe, confirm the thermostat holds at least 3.7V. A low battery mid-reset can corrupt the process.
Use the ring for a hard reboot. Pressing and holding the display ring for 10 seconds forces a manual restart — useful when the screen is unresponsive to normal input.
Reset on the device, not just the app. Removing a thermostat from the Nest app alone does not erase data from the hardware. Always complete the reset sequence on the thermostat itself.
With these four checkpoints in place, you’re ready to move confidently into the reinstallation phase — where proper mounting, wiring, and app reconnection determine how well your Nest performs long-term.
Next Steps: Reinstalling and Optimizing Your Nest
A successful factory reset only solves half the problem — what happens during reinstallation determines whether the same issues come back in weeks.
Proper mounting and wiring are the single most important factors in preventing recurring sensor and connectivity failures. Before snapping the thermostat back onto its base, confirm every wire is seated firmly in its labeled connector with no exposed copper strands touching adjacent terminals. A loose R or C wire is one of the most common reasons a freshly reset Nest starts behaving erratically within days. Proper installation and mounting are the first steps to preventing future sensor and connectivity issues, and skipping a careful check here undoes everything the reset accomplished.
Once the thermostat is physically secure, re-add the device through the Google Home or Nest app using the standard setup flow — scanning the QR code or entering the device key printed on the back. This re-establishes cloud connectivity and restores schedule syncing. Immediately after reconnection, navigate to Settings → Software and confirm the thermostat is running the latest firmware. Updates frequently include stability patches that address the exact glitches that may have triggered your reset in the first place.
Smart home systems reward careful setup and consistent maintenance. Hyvoxa is built around that principle — delivering guidance that keeps your devices running efficiently long after the initial installation, so a factory reset stays a rare last resort rather than a recurring fix.
Final Thoughts: The Clean Slate Advantage
Reflecting on years of professional smart home maintenance, I’ve found that the most resilient systems aren’t the ones that never fail, but the ones that are regularly optimized. A factory reset shouldn’t be viewed as a sign of a “broken” device; instead, think of it as a professional recommissioning. By taking the fifteen minutes to wipe the slate clean and reconfigure your settings, you are effectively stripping away months of digital “cruft” that slows down response times and drains battery life.
My best advice is to treat a factory reset as a proactive tool rather than a last-resort panic button. Whether you are dealing with a used unit from a previous apartment or a legacy Learning Thermostat that has lived through five different routers, a fresh start is the most reliable path to a glitch-free home. Once you’ve completed the reset, you’ll likely find that the device is snappier, the connection is steadier, and the energy savings actually start reflecting the “smart” promise again.