Why Your AC Stays Silent When the Thermostat Says Cool
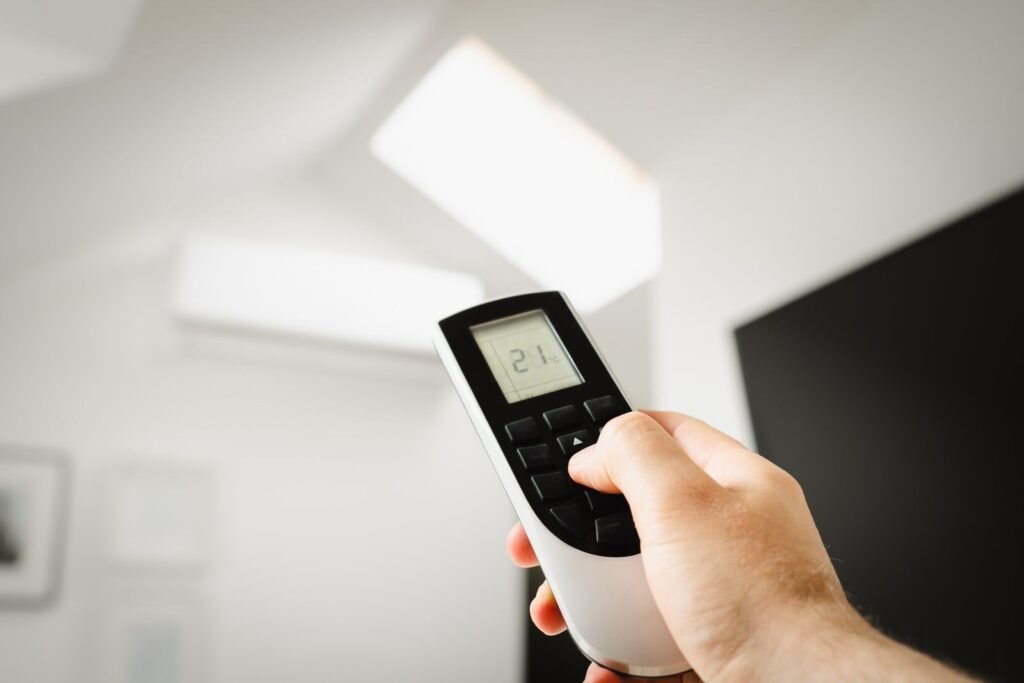
Imagine waking up drenched in sweat, the summer heat relentless, and your home feels like an oven. You rush to check the thermostat, which confidently displays “cool,” yet the temperature inside reads a sweltering 88 degrees. This scenario is all too familiar for many homeowners during a heatwave. The frustration mounts as your air conditioning unit remains silent, refusing to kick in when you need it most. The instinct is often to blame the thermostat, but in reality, it’s rarely the culprit behind the silence.
With years of experience responding to diagnostic calls in the HVAC field, I’ve seen this issue time and again. The disconnect between the thermostat and the condenser is often due to a safety trip or an Anti-Short Cycle Timer (ASCT). This mandatory rest period, typically lasting 5 minutes, allows refrigerant pressures to equalize and motor windings to cool, preventing catastrophic compressor burnout. to protect your system and home. These trips occur when the system detects overheating, refrigerant issues, or electrical irregularities, cutting power to prevent further damage. Understanding this common safety feature can save you both anxiety and expense, as the silence is not a malfunction but a necessary warning.
The thermostat is the brain; the condenser unit outside is the muscle. These are two separate systems, and one can appear fully functional while the other is completely dead. According to Carrier’s, the indoor thermostat often runs on batteries or a separate low-voltage circuit — meaning it can stay lit, responsive, and show “cool” on its display even when the main AC unit has zero power.
This disconnect is why the diagnosis isn’t always obvious.
Immediate Safety Warning: Do not ignore a silent AC unit. A system that refuses to start may be protecting itself — and your home — from a compressor burnout or electrical fire. Repeatedly forcing it to restart can escalate minor issues into expensive damage.
What’s often happening is a safety trip: a deliberate shutdown triggered by the system’s own protective controls. Modern AC units cut power to themselves when they detect overheating, refrigerant problems, or electrical irregularities. The silence isn’t a malfunction — it’s a warning.
The sections ahead work through each likely cause in order of how easy they are to check, starting with the most overlooked culprit: your electrical panel.
The Power Disconnect: Checking Breakers and Fuses
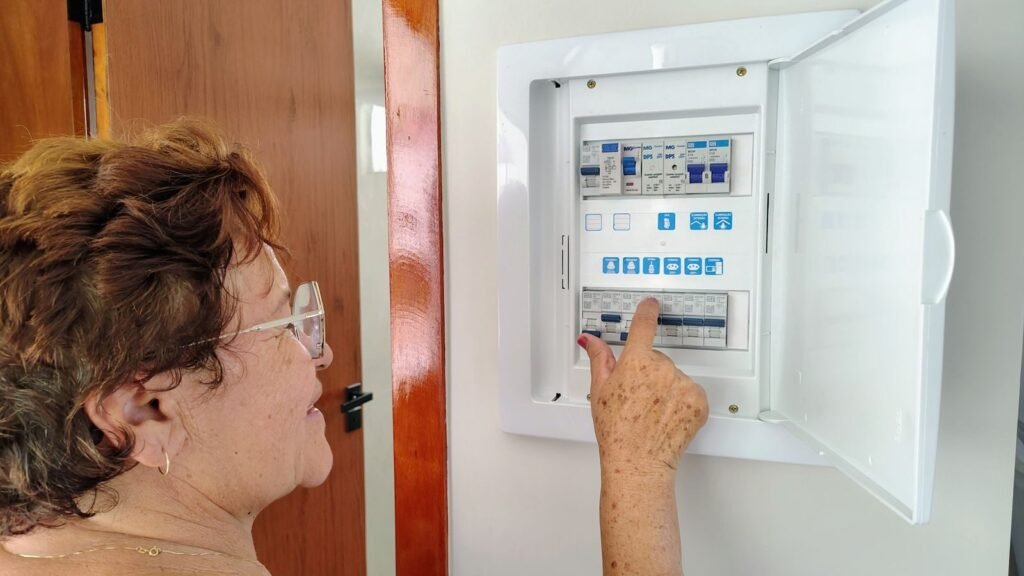
Electrical issues are the most overlooked reason why your AC won’t reach the set temperature — and the fix is often sitting right in your breaker panel.
Tripped breakers are deceptive. A breaker that’s been knocked off by a surge doesn’t always flip fully to “off.” Instead, it lands in a neutral middle position that looks “on” at a glance. According to Carrier’s, high-voltage surges and overheating are common culprits behind this. To confirm a breaker is truly on, push it firmly to “off” first, then back to “on” — that resets it properly.
The outdoor disconnect box is the next stop. Mounted on the exterior wall near the condenser unit, this weatherproof box contains fuses specifically protecting the outdoor equipment. As American Standard Heating & Air Conditioning notes, a blown fuse here will cut power to the condensing unit entirely — even while your thermostat continues signaling for cool. Pull the disconnect block and visually inspect each fuse for a broken filament or scorch marks.
⚠ Warning: If a breaker trips immediately after you reset it, stop. Repeatedly flipping it can damage wiring or create a fire hazard. That pattern signals a deeper electrical fault that requires a licensed HVAC technician or electrician.
Once you’ve confirmed stable power is reaching both indoor and outdoor units, you’ve ruled out the most straightforward electrical culprits. But what happens when power is present and the unit still just hums without starting? That points to a different component entirely — and it’s one that fails more often than most homeowners expect.
The Capacitor Crisis: Why Your Unit Hums but Won’t Start
A humming outdoor unit that never fully starts is one of the most telling signs in any AC unit not turning on troubleshooting steps — and the capacitor is almost always the culprit.
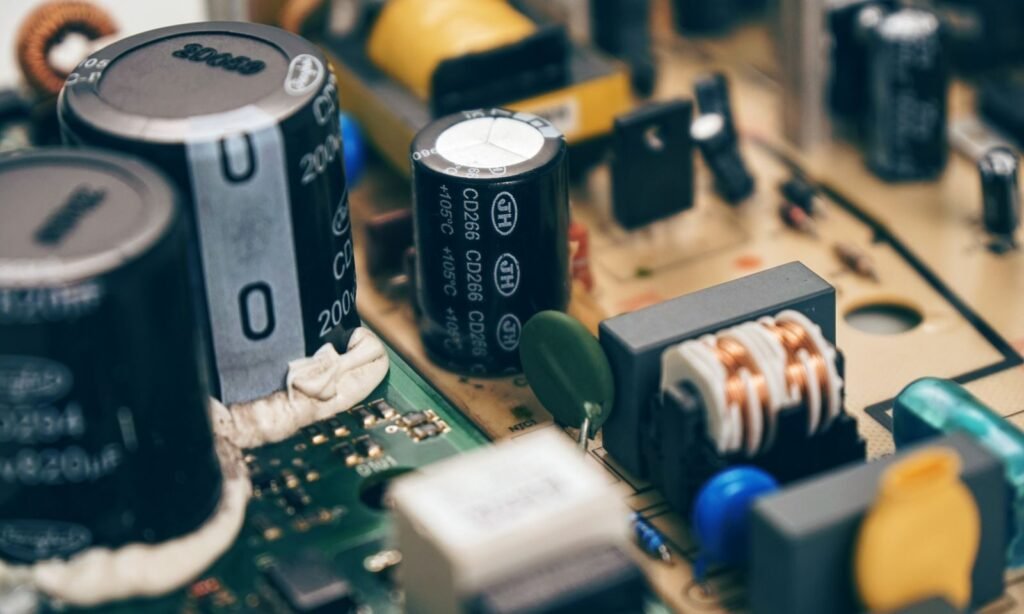
The hum means the motor wants to run; it just can’t get the push it needs. A capacitor works like a battery burst, storing and releasing the concentrated jolt of electricity that gets the compressor and fan motors spinning from a dead stop. When the capacitor weakens or fails entirely, the motor draws power, strains audibly, and then trips its thermal overload — which is exactly why the system hums for a few seconds and goes silent.
According to InterNACHI’s, approximately 80% of all air conditioning compressor failures are traced back to a faulty capacitor. It’s the first component a technician reaches for during a service call, and for good reason.
“A failed capacitor is one of the most common — and most misdiagnosed — causes of an AC system that appears completely dead.” — HVAC industry standard diagnostic practice
Symptoms of a Dead Capacitor
Watch for these warning signs before calling for service:
A low, steady hum from the outdoor unit with no fan blade movement
The system attempts to start, then shuts down within seconds
A visibly bulging or domed top on the cylindrical capacitor component
Oil residue or leaking around the capacitor casing
Repeated tripped breakers after the unit tries to cycle on
Visual inspection can confirm a failed capacitor, but even a capacitor that looks intact can test below its rated microfarad value. That matters because a weakened capacitor often follows a pattern tied to heat stress — the same summer conditions that prompt you to push your Honeywell Home thermostat to its lowest setting and expect an immediate response.
Replacing a capacitor is a relatively low-cost repair, typically ranging from $150–$300 with labor, but it does involve stored electrical charge that can be dangerous without proper discharge equipment. This is one repair where professional handling is strongly recommended.
Once power delivery is confirmed — from the breaker panel through to the capacitor — the next overlooked culprit shifts from electrical components to something far simpler: the air flowing through your system.
Airflow and Safety Switches: The Clogged Filter Trap
A dirty air filter doesn’t just reduce comfort — it can trigger a chain reaction that shuts down your entire AC system to prevent permanent damage. This is one of the most common reasons a Honeywell thermostat set to cool but AC not turning on after a filter change (or neglect) leaves homeowners stumped.
A clogged filter doesn’t just slow airflow — it activates a safety switch designed to protect a $5,000+ system from a $20 problem.
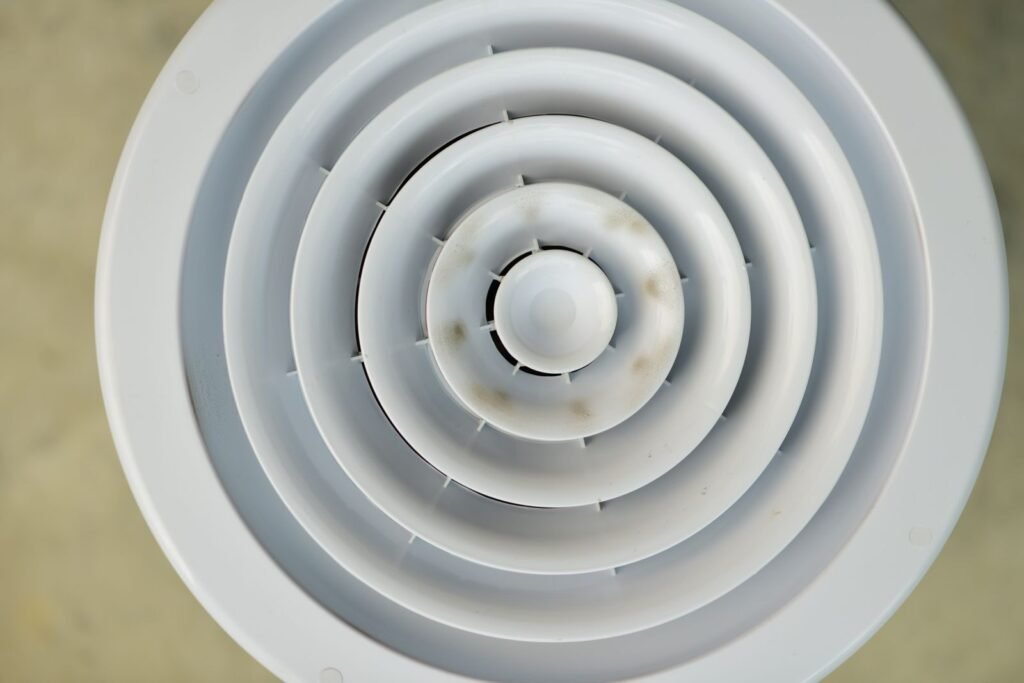
The pressure switch is the key player here. When a blocked filter starves the system of return air, pressure inside the refrigerant circuit drops abnormally. The safety pressure switch detects this imbalance and cuts power to the compressor before permanent damage can occur. According to Energy Star (U.S. EPA)’s, a clogged filter can trigger exactly this shutdown sequence — and the system won’t restart until conditions normalize.
Frozen evaporator coils are the next domino to fall. Without adequate airflow, the evaporator coil drops below freezing, ice builds up, and refrigerant pressure collapses further. At that point, the compressor is at serious risk.
After swapping in a clean filter, the reset procedure matters. Allow the ice to fully thaw — typically 2–4 hours with the fan running on “ON” mode — before switching back to “COOL.” Rushing this step often means the safety switch trips again immediately.
Tip: While waiting for coils to thaw, check your drain pan’s float switch. A full or overflowing drain pan triggers its own safety shutoff, completely independent of the filter. If the pan has standing water, clear the condensate drain line before restarting — otherwise the system will shut right back down, even with a brand-new filter installed.
Once airflow is restored and the system cycles normally, the next logical suspect shifts toward the thermostat itself — which has its own set of quirks worth exploring.
Thermostat Misconfigurations and Reset Buttons
When your thermostat says “cool” but nothing happens, the thermostat itself is often the actual culprit — not the outdoor unit. If you’re stuck and searching for ac not turning on try this, the answer frequently starts right at the wall panel.
The 5-minute delay is the most overlooked non-problem in home cooling. As noted by Honeywell Home, many modern thermostats have a built-in compressor protection delay that intentionally holds the system off for up to five minutes after a setting change or power interruption. This prevents short-cycling damage. Before touching anything else, simply wait it out.
Hard reset procedure varies by model, but the principle is consistent. For most Honeywell and smart thermostats, remove the unit from its wall plate, pull the batteries for 60 seconds, reinsert them, and restore power. This clears corrupted settings that can silently block a cooling call from ever reaching the outdoor unit.
C-wire issues are a growing problem as homeowners swap in smart thermostats. Without a proper common wire providing continuous 24V power, some smart units brown out during a cooling call — displaying “cool” while the system stalls. Check your wiring diagram or use a C-wire adapter if this applies.
The “reset button” myth also trips up a lot of people. There is no universal reset button on a thermostat. However, the outdoor condenser does have a high-pressure reset button — typically a small red button near the refrigerant lines — that trips during overheating events. With both of these checks completed, you’ll have a clear picture of every likely failure point before moving into a final, actionable checklist.
The Bottom Line: Your AC Troubleshooting Checklist

Before calling anyone, a methodical five-step check can resolve the most common reasons your thermostat reads “cool” while the AC stays silent. As the a trusted HVAC service provider Editorial Team puts it: “If the thermostat is on but the AC isn’t, check the power first, then the airflow.”
Most AC no-cool situations trace back to five overlooked basics — and you can verify all of them in under ten minutes.
Check the breaker. Locate the dedicated AC circuit and confirm the switch is firmly in the “On” position. A half-tripped breaker looks on but isn’t.
Inspect the filter. Hold it up to light. If light can’t pass through, replace it — a clogged filter starves airflow and trips safety shutoffs.
Listen to the outdoor unit. A steady hum with no fan movement points to a failed capacitor, not a wiring issue or refrigerant problem.
Clear the condensate drain. If the float switch is sitting in standing water, it will lock out the system entirely until the pan is dry.
Wait five minutes. Thermostats have a built-in safety delay after a reset; the compressor simply won’t start before it clears.
Work through each checkpoint in order — power before airflow, airflow before components. However, some symptoms sit outside the scope of safe DIY repair, and recognizing that line matters just as much as the checklist itself.
When to Stop DIY and Call a Professional

DIY troubleshooting has real limits — and knowing exactly where those limits are is what keeps your home safe and your system intact.
Burning smells, sparking, or a breaker that trips the moment you reset it are non-negotiable signals to stop and call a licensed technician. According to Carrier’s, repeatedly resetting a tripped breaker can cause electrical fires or permanent motor damage. That single reset you think is harmless could be the one that ends your compressor — or starts something far more dangerous.
Refrigerant loss is another hard stop for DIY repair. If your system is low on refrigerant, it means there’s a leak somewhere in the line. Topping it off isn’t an option — refrigerant handling requires EPA Section 608 certification, and illegal handling carries serious fines. A technician will locate the leak, repair it, and recharge the system correctly.
Here’s a quick reference for when the phone call is the right move:
You smell burning plastic or notice visible sparking near the unit
The circuit breaker trips immediately after being reset
Ice is forming on the refrigerant lines
The system runs continuously but never cools the space
Conclusion
Safety switches and trips are not mere inconveniences but vital components that safeguard your home and air conditioning system. They prevent catastrophic failures and costly repairs by shutting down the system when certain conditions are met. Understanding the importance of these safety features can help you prevent potential disasters and extend the life of your AC unit.
While it’s tempting to resolve AC issues on your own, recognizing when to step back is crucial for home safety. Smells of burning or repeated tripping of breakers are red flags that require professional intervention. By knowing the limits of DIY repairs and calling in a licensed technician when necessary, you protect not only your air conditioning system but also your home and family.
Frequently Asked Questions (FAQ)
Why is my AC not turning on when I set it to cool? Most often, this is caused by a tripped circuit breaker, a blown fuse in the outdoor disconnect box, or the system being in a 5-minute safety delay mode.
Is there an AC reset button? While thermostats don’t have a universal reset, many outdoor condenser units feature a red ‘high-pressure reset’ button located near the refrigerant line connections.
Why is my thermostat flashing ‘Cool On’? If the ‘Cool On’ or snowflake icon is flashing, the thermostat is in delay mode to protect the compressor. Wait at least 5 minutes for the cycle to begin.
According to industry standards from Johnson Controls, systems are equipped with high and low-pressure cutouts. A clogged filter restricts airflow, leading to frozen evaporator coils and low-pressure readings that trigger these safety sensors to disable the compressor. Additionally, a condensate float switch will cut power if it detects potential water overflow, protecting your home from structural damage.
Comparison: Thermostat Power vs. Condenser Power
|
Feature |
Thermostat (The Brain) |
Condenser Unit (The Muscle) |
|---|---|---|
|
Voltage |
Low Voltage (24V) |
High Voltage (220/240V) |
|
Power Source |
C-Wire or Batteries |
Dedicated Dual-Pole Breaker |
|
Failure Symptom |
Blank Screen or No Display |
Thermostat says ‘Cool’ but unit is silent |
|
Common Fix |
Replace batteries / Check C-wire |
Reset breaker / Replace fuses |
Key Takeaways: Why Your AC Isn’t Starting
Safety Lockouts: Most silent AC units are in a “protective lockout” triggered by sensors to prevent compressor burnout. The 5-Minute Rule: Modern thermostats have an Anti-Short Cycle Timer (ASCT) that forces a 5-minute delay before restarting. Power Disconnect: The thermostat often runs on a separate low-voltage (24V) circuit, allowing it to stay lit even if the outdoor unit (240V) has lost power. Clogged Filters: A dirty filter can trigger a high-pressure limit switch or freeze coils, causing a system-wide shutdown. Float Switches: If your drain pan is full of water, a safety float switch will cut power to the condenser to prevent indoor flooding.