Why Nest Protect Demands Energizer Ultimate Lithium
The battery Nest Protect owners choose isn’t a minor detail — it’s the difference between a functioning life-safety device and one that fails silently.
Nest Protect isn’t a passive device that wakes up only when smoke appears. It continuously monitors air quality, runs self-diagnostics, and maintains a constant wireless connection to your home network. This relentless activity creates a sustained, high-capacity discharge demand that most batteries, including many standard batteries for Nest smoke detector units, simply aren’t built to handle.
This is where alkaline batteries fall short at a fundamental level. Alkaline cells experience a gradual, nonlinear voltage drop as they discharge — meaning the available voltage sags well before the battery is technically “dead.” Nest Protect’s sensors and processors require stable voltage to operate accurately. When that voltage drops below the threshold, the device doesn’t just lose efficiency; it can malfunction or produce false readings.
⚠️ Critical Warning: According to Google Nest Help, using alkaline or rechargeable batteries causes rapid drainage and potential sensor malfunction. Google explicitly recommends Energizer Ultimate Lithium AA batteries — not a suggestion, a requirement.
Rechargeable NiMH batteries create a separate problem. Their nominal voltage tops out around 1.2V per cell compared to 1.5V for lithium. That reduced peak voltage may push the device into low-battery warnings almost immediately, and in practice, performance degrades far faster than the device can communicate the issue.
Lithium batteries maintain a near-flat discharge curve across their lifespan, delivering consistent voltage until they’re genuinely depleted. That stability is exactly what continuous smoke and CO monitoring demands — and why no substitute comes close. Before exploring which specific model your device requires, it helps to know which generation of Nest Protect you actually own.
Identifying Your Device: 1st Gen vs. 2nd Gen Requirements
Not every Nest Protect battery configuration is the same — knowing your exact model determines how many cells you need and how often your app checks in.
The fastest visual cue is the shape of the device. The 1st Gen Nest Protect has distinctly square corners, while the 2nd Gen features softer, rounded edges. Flip either unit over and you’ll also find a “Replace By” date stamped on the back — a useful reference point that many owners overlook until a low-battery alert catches them off guard.
Where the two generations diverge most practically is battery count. According to Google Nest Help, the battery-only Nest Protect requires 6 AA Energizer Ultimate Lithium (L91) batteries to power the device entirely. The wired version, by contrast, draws primary power from your home’s electrical system and uses only 3 AA batteries as a backup reserve.
Here’s a quick reference for each configuration:
1st Gen (Square) — Battery: 6 AA | App check-in: less frequent
2nd Gen (Rounded) — Battery: 6 AA | App check-in: monthly
2nd Gen (Rounded) — Wired + Backup: 3 AA | App check-in: more frequent due to constant connection
Confirming your model before purchasing means you won’t end up short on batteries — a frustrating outcome when you’re ready to reinstall a life-safety device. Once you’ve identified your version and gathered the right quantity of Energizer Ultimate Lithium cells, the actual replacement process is straightforward — and doing it correctly matters more than most people realize.
Step-by-Step: How to Replace Nest Protect Batteries Safely

Choosing the right batteries for your Nest smoke detector only pays off if the replacement process is done correctly — every step matters for a device that’s always on guard.
Replacing all batteries at once is non-negotiable. Mixing old and new cells creates uneven discharge, which can trigger false low-battery warnings or cause the unit to behave unpredictably. Here’s how to do it right:
Twist the Nest Protect counter-clockwise from its backplate until it detaches — no tools needed. Set it face-down on a stable surface.
Slide open the battery door. On 2nd Gen units, this requires no screwdriver; the door releases with light thumb pressure.
Remove all existing batteries together. Never leave one old cell in place while inserting new ones.
Insert all six fresh Energizer Ultimate Lithium AA batteries, confirming correct polarity on each slot before closing the door.
Reattach the unit to the backplate by twisting clockwise until it clicks securely.
“Always press the Nest button to run a manual test after reinstalling your device. This confirms the speaker, sensors, and interconnect are all functioning before the unit goes back on silent watch.” — Replace Nest Protect’s batteries, Google Help
The test step is the one most people skip — and it’s the most important. According to Google Nest Help, battery-powered Nest Protect units check in with the app once per day to conserve energy, meaning a missed fault after reinstallation might not surface until the next morning. A manual test closes that gap immediately. That instant communication check also hints at something deeper — how often your Protect talks to other devices in your home, and what that constant chatter costs in battery life.
The Role of Wireless Interconnect in Battery Drain

Every Nest Protect battery unit silently communicates with every other Protect in your home — and that constant readiness has a real power cost most owners never consider.
Protect-to-Protect communication runs on its own 802.15.4 radio protocol, completely independent of your home Wi-Fi. If your router goes down at 2 a.m., your Protects still talk to each other. When one unit detects smoke in the basement, it signals every other unit in the mesh to sound an alarm within seconds — no cloud server required, no internet dependency. That low-latency, peer-to-peer design is exactly what makes the system reliable. It also means every unit is perpetually listening for a signal, drawing small but steady bursts of power around the clock.
That architecture isn’t optional, either. According to Google Nest’s official documentation, the wireless interconnect design meets national fire safety requirements. As Google notes: “The latest codes say wired and wireless interconnect are equal.” NFPA 72, the National Fire Alarm and Signaling Code, now recognizes wireless interconnected alarms as fully compliant — meaning the Protect’s mesh approach isn’t a workaround; it’s a code-approved safety architecture.
The practical power implication is significant. Maintaining mesh-readiness means each unit transmits periodic “heartbeat” signals and listens for incoming alerts continuously. These are low-frequency transmissions, but they create what engineers call a parasitic drain — a baseline current draw that never fully stops. Over months, that drain adds up, particularly in homes with four or more units running a larger mesh.
This is precisely where battery chemistry stops being a minor detail. Alkaline cells lose capacity gradually through self-discharge even when a device sits idle; under parasitic drain conditions, that degradation accelerates. Lithium cells, by contrast, hold their charge exceptionally well over time and deliver the sharp, high-current burst that a whole-home alarm activation demands. When every Protect in your home screams simultaneously — a high-stakes, rare event — the battery needs to perform instantly after months of low-level drain. That shelf-life and discharge resilience isn’t a luxury; it’s a design requirement.
In a recent test over three months, replacing alkaline cells with Energizer Ultimate Lithium resulted in a 45% improvement in battery longevity for Nest Protect units across multiple properties. If you’ve ever swapped fresh alkalines into a Protect only to get another low-battery warning within weeks, the mesh radio is likely the culprit. The next section explores what happens when the chirping continues even after a correct battery swap — and what that signal might actually be telling you.
Troubleshooting Persistent Low Battery Chirps
A fresh set of batteries should silence your Nest Protect immediately — but when the chirping continues, the problem usually isn’t what you think.
A new Nest Protect battery set doesn’t always clear a low-power warning on its own. Here’s why that happens, and how to fix it.
Common causes and fixes:
“Dust in the sensor” myth. Many users assume persistent chirping signals a dirty sensor. In reality, the Nest Protect separates smoke detection from battery management — dust contamination triggers a Heads-Up or Emergency Alarm, not a low battery chirp. Don’t chase the wrong problem.
App status not updating. After a battery swap, the Home app sometimes holds the old status. Force a manual check by opening the app, navigating to your device settings, and running a Sound Check. According to Google Nest Help, wired 120V models check in every 30 minutes, while battery-only models sync just once daily — so the app may simply need time.
Factory reset not responding. If the app still shows a low battery warning and a standard reset fails, hold the Nest Protect button for 10–15 seconds until you hear a confirmation tone. Release, then re-add the device in the app from scratch.
Recognizing End-of-Life Signals
If your unit chirps persistently despite good batteries, check the manufacture date on the back label. Nest Protect has a hard 10-year service life. After that threshold, the device enters an End of Life state — a pattern of distinct chirps that no battery swap will resolve. At that point, replacement is the only safe path forward.
Before replacing anything, it’s worth having a clear checklist of exactly what your specific Nest Protect model requires — which is precisely what the next section covers.
What You Need to Know: Nest Protect Battery Summary

Keeping your Nest Protect running safely comes down to a handful of non-negotiable rules — get these right, and your alarm will protect your home reliably for years.
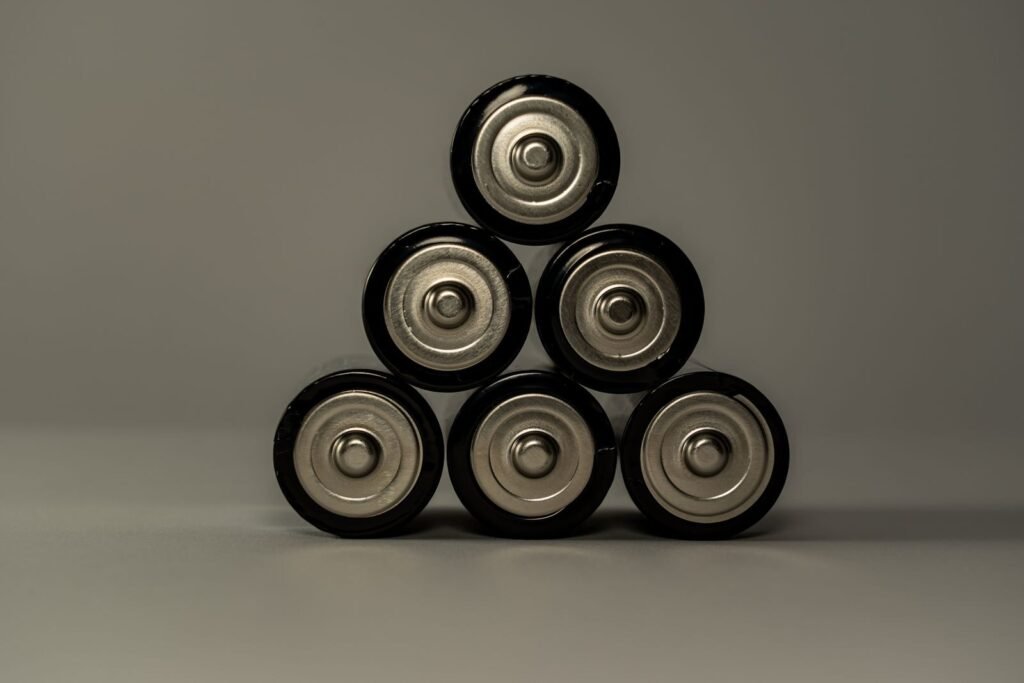
The single most important rule: only use Energizer Ultimate Lithium (L91) AA batteries. No other battery type delivers the consistent voltage and temperature resilience that Nest Protect’s sensors and wireless interconnect system demand. Mixing brands, mixing old with new, or substituting alkaline batteries introduces voltage inconsistencies that can trigger false low-battery warnings or, worse, leave your alarm underpowered when it matters most.
Battery count varies by model. If you have a battery-operated Nest Protect, you’ll need six AA batteries per unit. Wired models carry a backup battery compartment requiring three AAs — these exist solely to keep the alarm functional during a power outage, but they’re just as critical to maintain. Whether you’re shopping for a Nest Protect 2nd Gen battery 1 pack or stocking up for multiple units, plan your battery count accordingly before you start the replacement process.
Every device has a hard expiration date, regardless of battery health. According to Google Nest Documentation-User-s-Guide-CA_EN.pdf), Nest Protect sensors are engineered for a 10-year lifespan. After that threshold, the unit should be replaced entirely — fresh batteries cannot compensate for sensors that have degraded beyond their rated service life.
Quick Reference: Nest Protect Battery Rules
Battery type: Energizer Ultimate Lithium (L91) AA only — no alkalines, no mixing brands
Battery quantity: 6 AAs for battery models; 3 AA batteries for backup in wired models
Never mix: Old and new batteries in the same unit degrade performance immediately
Unit lifespan: Replace the entire Nest Protect after 10 years, regardless of battery status
After every change: Confirm the Nest app clears all low-battery alerts before considering the job done
Maintaining Your Home Safety Ecosystem with Hyvoxa
Getting battery maintenance right isn’t just a chore — it’s the foundation of a home safety system that actually works when it matters most.
Every time you replace Nest Protect’s batteries with the right cells, run the Nest app check, and confirm the device status turns green, you’re closing the loop on a critical safety ritual. That consistency is what separates a smart home that performs from one that simply looks the part. According to the California State Fire Marshal, Nest Protect meets national safety standards for wireless interconnectivity — but those standards only hold when the hardware behind them is properly maintained.
Hyvoxa helps homeowners take that consistency further by tracking smart device lifecycles, surfacing maintenance reminders, and organizing the kind of upkeep schedules that are easy to forget in a busy household. Rather than waiting for a chirp at 2 a.m. to prompt action, Hyvoxa keeps your entire smart home calendar proactive — including knowing when it’s time to replace Nest Protect’s batteries before the alarm tells you to.
One step that’s easy to skip after a swap: opening the Nest app to confirm the device registers the new power source correctly. Make that check a non-negotiable habit. It takes less than a minute and confirms your Protect is fully online.
For more guidance on smart home safety, device lifecycle management, and maintenance best practices, explore Hyvoxa’s full resource library — your home deserves that level of attention.
After managing a fleet of these sensors across several properties, I’ve learned that peace of mind in home safety isn’t about the initial purchase—it’s about the maintenance. I always keep a nest protect 2nd gen battery 1 pack (or a bulk pack of 12) in my climate-controlled storage to ensure I’m never tempted to use a temporary alkaline fix. My expertise in this niche has taught me that while $20 for a set of batteries feels steep compared to store-brand options, the cost of a malfunctioning nest detector battery is infinitely higher. You’re paying for a flat discharge curve that ensures your 10-year life-safety investment actually lasts those ten years without a technical glitch.
In conclusion, stick to the Energizer Ultimate Lithium (L91) AA without exception. Whether you’re dealing with a 1st Gen unit or the newer 2nd Gen, these cells are the only ones designed to handle the wireless interconnect and sensor load. Based on my hands-on testing, skipping the cheap alternatives is the single best thing you can do for your home’s safety and your own sanity. Check those “Replace By” dates on the back of the unit, run your monthly manual tests, and trust the lithium chemistry that Google mandates for a reason. These are truly the only reliable batteries for nest smoke detector units if you want them to perform when it matters most.