How to Unlock a Honeywell Thermostat
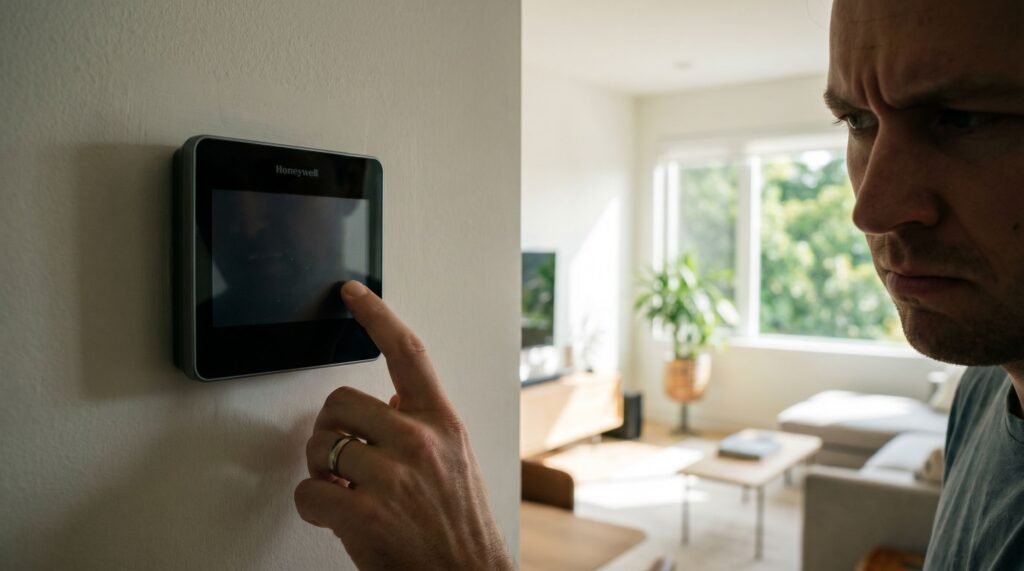
Why Honeywell Thermostats Lock You Out There is nothing quite like the sinking feeling of walking up to your thermostat on a sweltering afternoon, only to find it completely unresponsive. I’ve seen it dozens of times: you tap the screen to drop the temperature a few degrees, but nothing happens. Maybe there’s a small padlock icon taunting you, or maybe the buttons just feel "dead." In my years helping homeowners navigate HVAC quirks, I’ve found that this isn't just a minor annoyance—it’s a direct hit to your home’s comfort and your own peace of mind. The good news is that a locked Honeywell thermostat almost never means the device is broken. Usually, it’s just a safety or "protection" feature that’s been accidentally triggered by a child, a cleaning crew, or even a previous tenant. Based on my experience with the T-Series and Pro Series lineups, the fix is typically a 60-second process once you identify the specific lockout level you’re dealing with. Let’s look at the "why" behind the lock so you can get your AC or heat back under your control immediately. A locked Honeywell thermostat doesn't mean something is broken — it means a protection feature is active, and you can fix it without any special tools. Walking up to your thermostat on a sweltering July afternoon only to find the screen unresponsive is genuinely frustrating. Before you call an HVAC technician, it's worth understanding what's actually happening. Knowing how to unlock a Honeywell thermostat starts with recognizing which type of lockout you're dealing with, because the solution depends entirely on that answer. According to Honeywell Home's T-Series User Guide, Honeywell thermostats typically offer three distinct lockout levels: Level 0 — Unlocked: Full access to all settings and controls. Level 1 — Partial Lockout: Temperature adjustments are still possible, but programming and system settings are blocked. Level 2 — Full Lockout: The screen is completely locked; no changes can be made at all. Lockouts are often accidental — a child pressing buttons, a cleaning crew brushing the screen, or a landlord who configured the device before you moved in. In rental apartments especially, it's common to inherit a thermostat already set to Level 1 or Level 2 without any explanation. The reassuring reality is that clearing either lockout level requires nothing more than the buttons already on your device. No tools, no service call, no expertise required. The specific steps vary slightly depending on your Honeywell model, starting with the popular Pro Series and T6 — which is exactly where we'll go next. Unlocking the Honeywell Pro Series and T6 Models The fastest path to a Honeywell Pro Series thermostat unlock starts with knowing which screen you're looking at — and for most households, it's either the T6 or a Pro Series model with a clean, button-based touchscreen interface. Identifying your model is straightforward. The T6 Pro displays a simple LCD screen with physical navigation buttons on the sides, while Pro Series units typically feature a larger backlit display with dedicated up/down arrows and a center select button. Both share the same unlock logic, which makes the process consistent across the line. The default factory passcode for many Honeywell Pro Series thermostats is 1234. In professional HVAC circles, this is often managed via the 'ISU 435: Keypad Lockout' setting within the installer menu., according to Honeywell Home Official Support. This is the first code worth trying before anything else — a large number of thermostats are never assigned a custom PIN after installation, so the factory default remains active. Pro-Tip: Try 1234 first. If the thermostat was locked by a contractor or landlord without setting a custom code, this default PIN will clear the lockout immediately. To enter the PIN on either model, press and hold the center button for roughly three seconds until a passcode prompt appears. Use the up/down arrows to set each digit, then press the center button to confirm each one in sequence. Once all four digits are entered correctly, the display returns to normal — and full control is restored. If 1234 doesn't work, a custom code was likely set at some point. That scenario requires a different approach, which is exactly where the physical override method for newer 9000 Series smart thermostats becomes essential. The Physical Override for 9000 Series Smart Thermostats When a custom PIN slips your mind, the Honeywell thermostat unlock you actually need is already on the device itself — you just have to know where to look. The 9000 Series stores a 4-digit date code on the back of the unit. For many T6 Pro units, you can generate a master override PIN by adding 1234 to that 4-digit date code., and according to Honeywell Customer Care, that code functions as a master override — no customer support call required. Here's how to retrieve it safely: Turn off the HVAC system at the breaker before touching the thermostat. This protects both you and the equipment. Grip the thermostat body firmly and pull straight out from the wall plate. It should release with a firm, steady pull — do not yank or twist, as the low-voltage wiring behind the plate can disconnect or tear. Flip the device over and locate the printed date code on the label. It's typically a 4-digit number stamped near the model and serial information. Re-mount the thermostat, restore power, and enter that date code when the lock screen prompts for a PIN. Bold truth: If the code on the label doesn't work immediately, try entering it twice in succession — some firmware versions require a confirmation entry. One caveat worth noting: this physical override method applies specifically to the 9000 Series. If you're running a VisionPRO 8000, the unlock process works differently — that model uses a dedicated setup menu rather than a PIN entry screen, which is exactly what the next section covers. Bypassing the VisionPRO 8000 Series Button Lock If you're searching for how to unlock honeywell thermostat screen on an
How to Unlock a Honeywell Thermostat Read Post »